从灰度图像开始
仅仅因为图像是黑白图像并不意味着它是灰度图像。打开照片后,我们的首要任务是检查颜色模式。
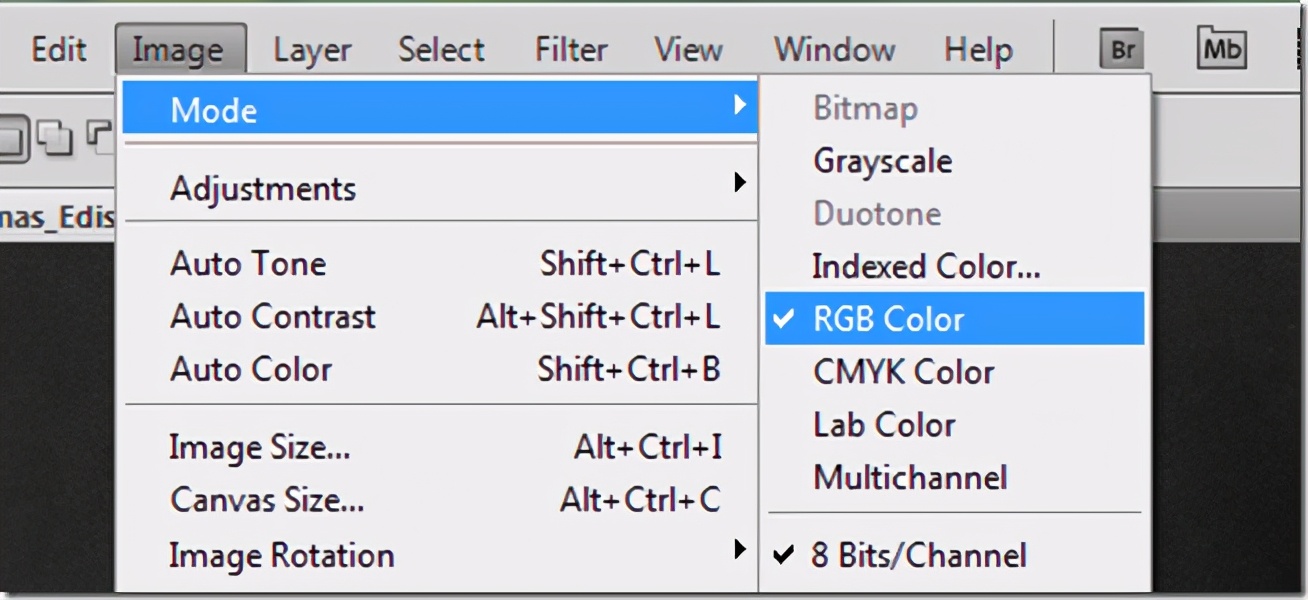
导航到“图像”>“模式”>“ RGB颜色”以将图像设置为RGB。如果它处于灰度或其他颜色模式,Photoshop会为您转换。完成此操作后,您就可以为图像添加颜色了。
使用混合模式添加颜色
向黑白图像添加颜色的最简单方法之一是使用混合模式。但是,我们将使用组混合模式创建一个单层组,而不是使用单独的混合模式创建多个层。方法如下:
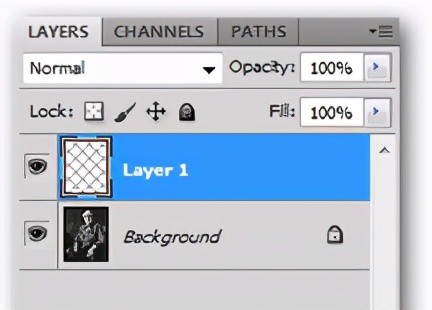
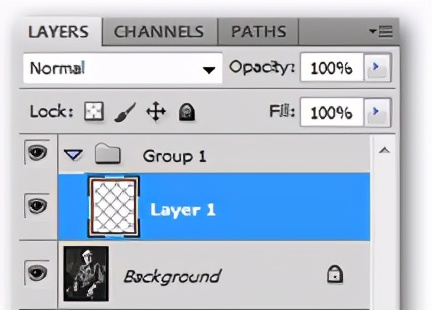
- 按创建一个新层。
- 选择新层后,按 组合新增。
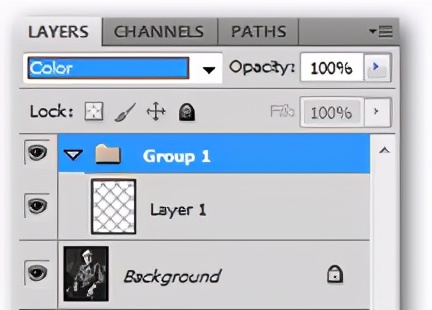
- 如上所示,选择新的图层组,并将混合模式设置为“颜色”。
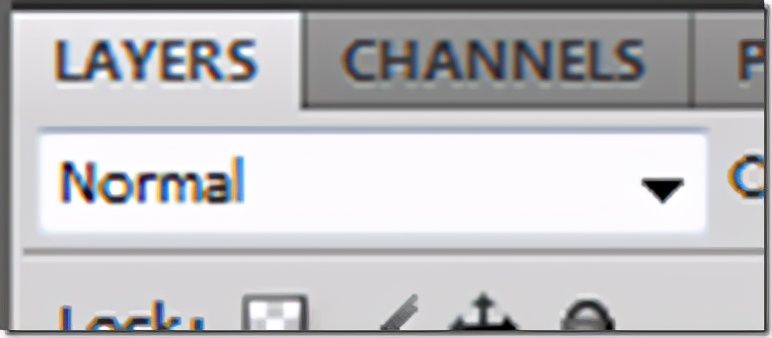
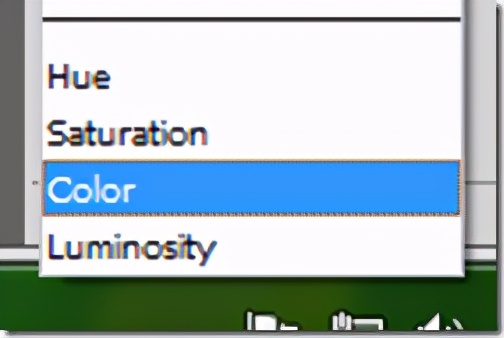
您可以在“图层”面板顶部下方的下拉选项卡中找到“混合模式”。单击以将其下拉以将组的混合模式设置为“颜色”,如上所示。

将您的组设置为混合模式后,“颜色”重新选择您的图层,让我们检查一些为图像添加颜色的方法。
无需绘画即可为图像添加颜色的一些方法

现在,您可以在新组中创建的任何层中添加颜色。问题是,如何?您可以为图层添加颜色的任何方法都是可行的。让我们从使用套索工具甚至钢笔工具开始,用一种简单,快捷但粗略的方法开始,如果您已经掌握了它。

在这种情况下,套索和钢笔工具都会做大致相同的事情。您将绘制和概述形状,然后用“桶填充”或通过“编辑”>“填充”并使用前景色填充它们。尽管此方法无法提供最精确的结果,但它可能是最快的。如果您希望采用更实际的,可控制的方法,则需要继续阅读以使用Photoshop笔刷工具查看“绘画”方法。
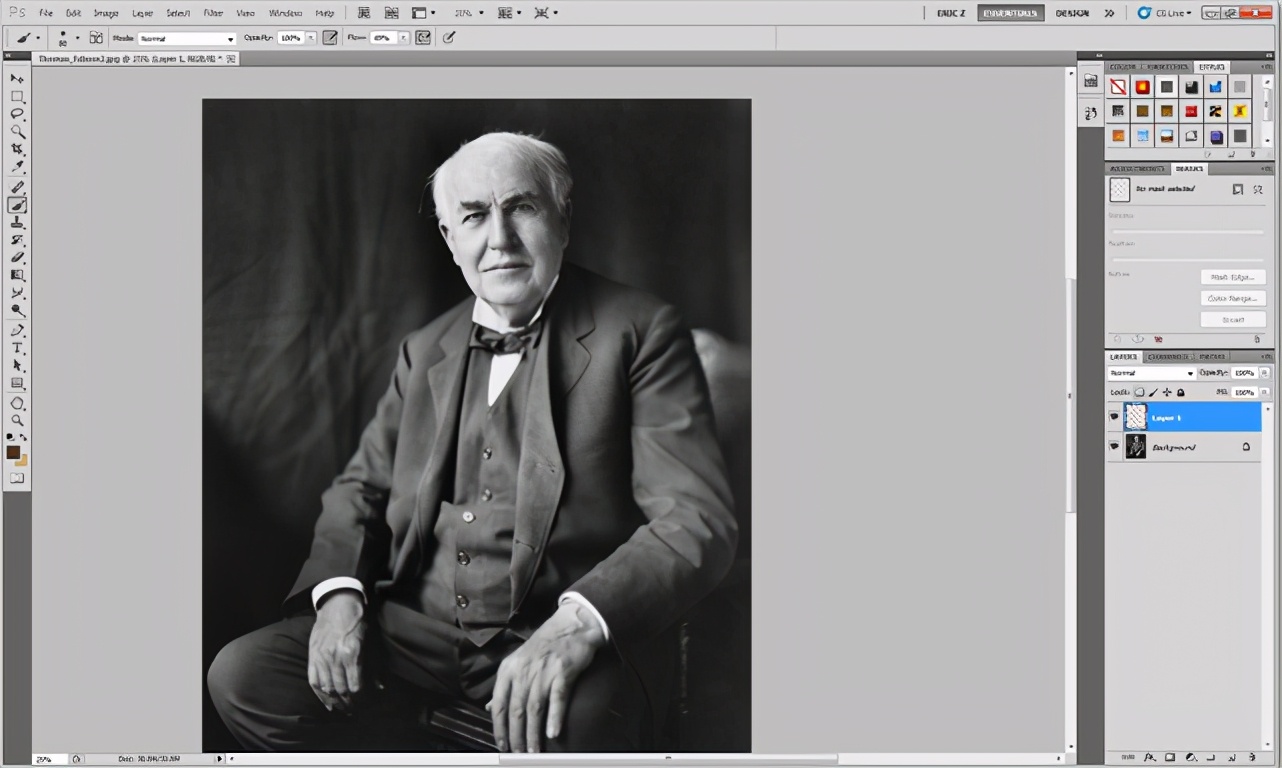
使用画笔工具将颜色绘制到照片中

如果您不在那里,请返回设置为“混合”模式“颜色”的组。导航到在此处制作的空白层,然后在工具栏中选择“画笔工具”。

按下

以选择“画笔工具”,然后右键单击图像以调出“画笔工具”上下文菜单。如图所示,选择“ Soft Round”。


单击工具栏的“前景颜色”区域(如左上方所示)以调出拾色器。坚持使用比您想要的图像暗淡得多的颜色,因为在绘制时它们会明显变亮。

只需将鼠标悬停在想要成为该颜色的图像区域上即可。尽可能精确,但可以根据需要随意使用橡皮擦工具。

您可能会发现,即使颜色变暗,它也会显得扎眼。您可以调整许多不同的方式。


如上所示,降低图层的不透明度可以降低颜色的强度并使它们更加自然。


在需要添加新颜色时添加新图层。将各层分开将为您提供更大的控制权。由于它们包含在同一组中,因此您会发现它们都遵循相同的“颜色”混合模式。

放大以根据需要添加详细信息。较小的细节(例如,眼睛中正确的蓝色)可以使彩色图像栩栩如生。
使用色相/饱和度工具改善花色

开始使用看起来像是正确的阴影的颜色很容易,但结果却变得太亮,花哨或丑陋。这是调整方法并继续绘画的方法。

绘制或找到要更改的颜色样本以更好地适合您的图像。

按

下调出色相/饱和度工具。

调整色相,饱和度和亮度值,直到颜色适合您的图像为止。正如您在上面看到的,扎眼的红色已变为更合适的红褐色。

Alt +单击

活动面板旁边的“图层”面板中的,以隐藏所有其他图层。然后,按

选择吸管工具。单击您绘制的色板一次,以选择更改的颜色作为前景色。

Alt +

再次单击同一按钮可重新打开所有图层。快捷键

将使您返回“画笔工具”,并可以像平常一样返回到绘画。在您想要放入的所有细节中,根据需要增加或减少颜色。

只需花费最少的工作和时间,黑白图像现在就充满了丰富的色彩。使用画笔工具进行练习,因为它可能是使黑白照片着色的出色结果的最佳方法。
以上就是今天的内容,关注疯狂的美工官网,每天分享不同设计教程